6 min readAuf Deutsch lesen
What Happens During an Acrylic Nail Appointment: Step-by-Step
Step inside a professional acrylic appointment: from cuticle preparation to hand-filing the apex, discover what to expect during your salon visit.
In short
An acrylic nail appointment begins with a consultation on shape and length, followed by thorough cuticle preparation, shine removal, dehydrating, and primer application. Your nail artist applies tips or forms, then sculpts acrylic liquid and powder zone by zone. After the acrylic air-cures within minutes, the side walls, C-curve, and apex are hand-filed before finishing with colour and cuticle oil.
At a glance
- New Set Duration
- Approximately 90 minutes
- Refill Duration
- Approximately 75 minutes
- Refill Frequency
- Every 3 to 4 weeks
- Hardening Process
- Air-curing within minutes
- New Set Price
- 70 € (includes extension and colour)
- Removal Price
- 25 € (professional acetone soak)
What Happens During Your Initial Consultation and Style Selection?
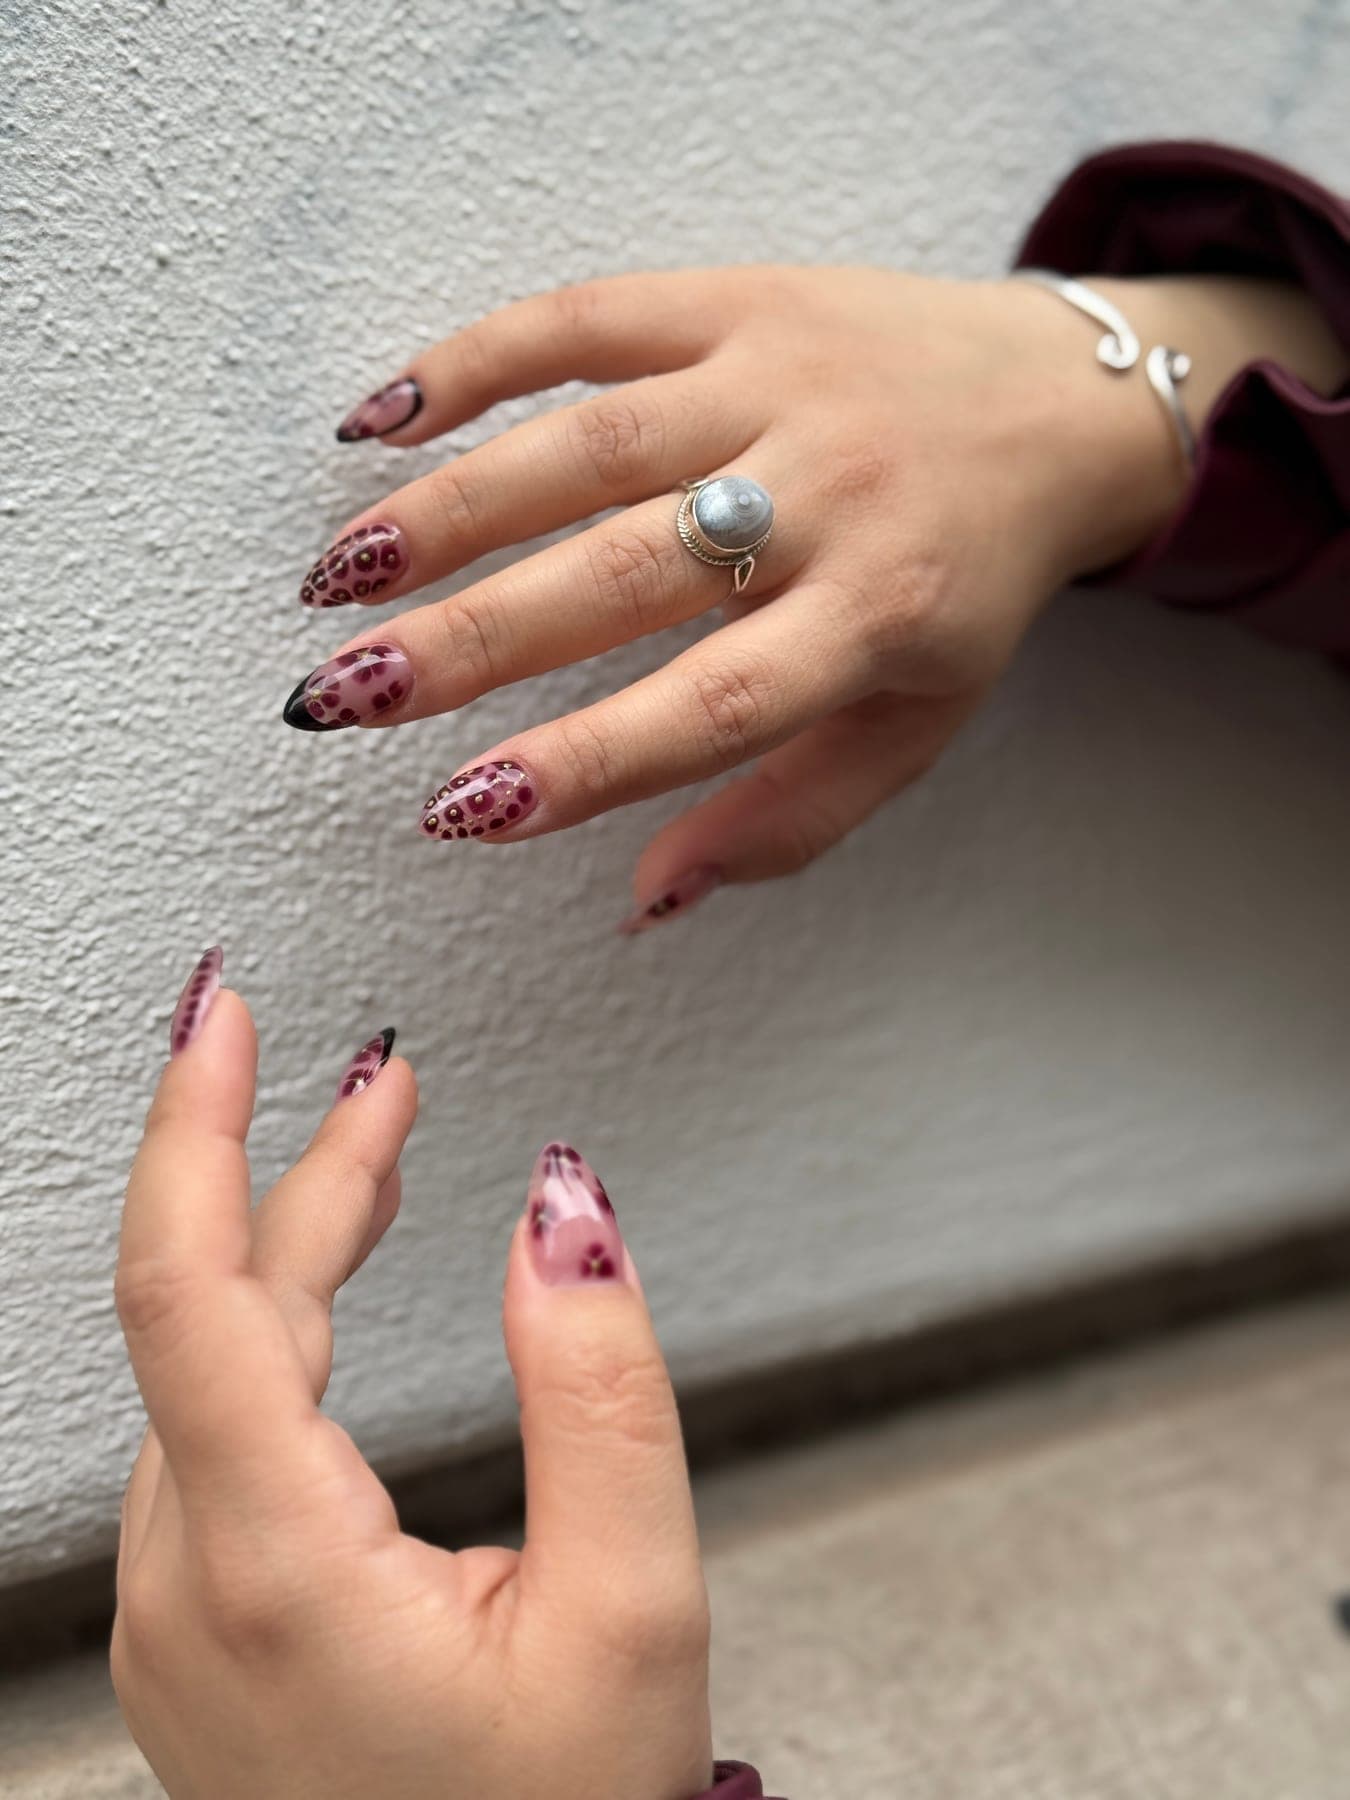
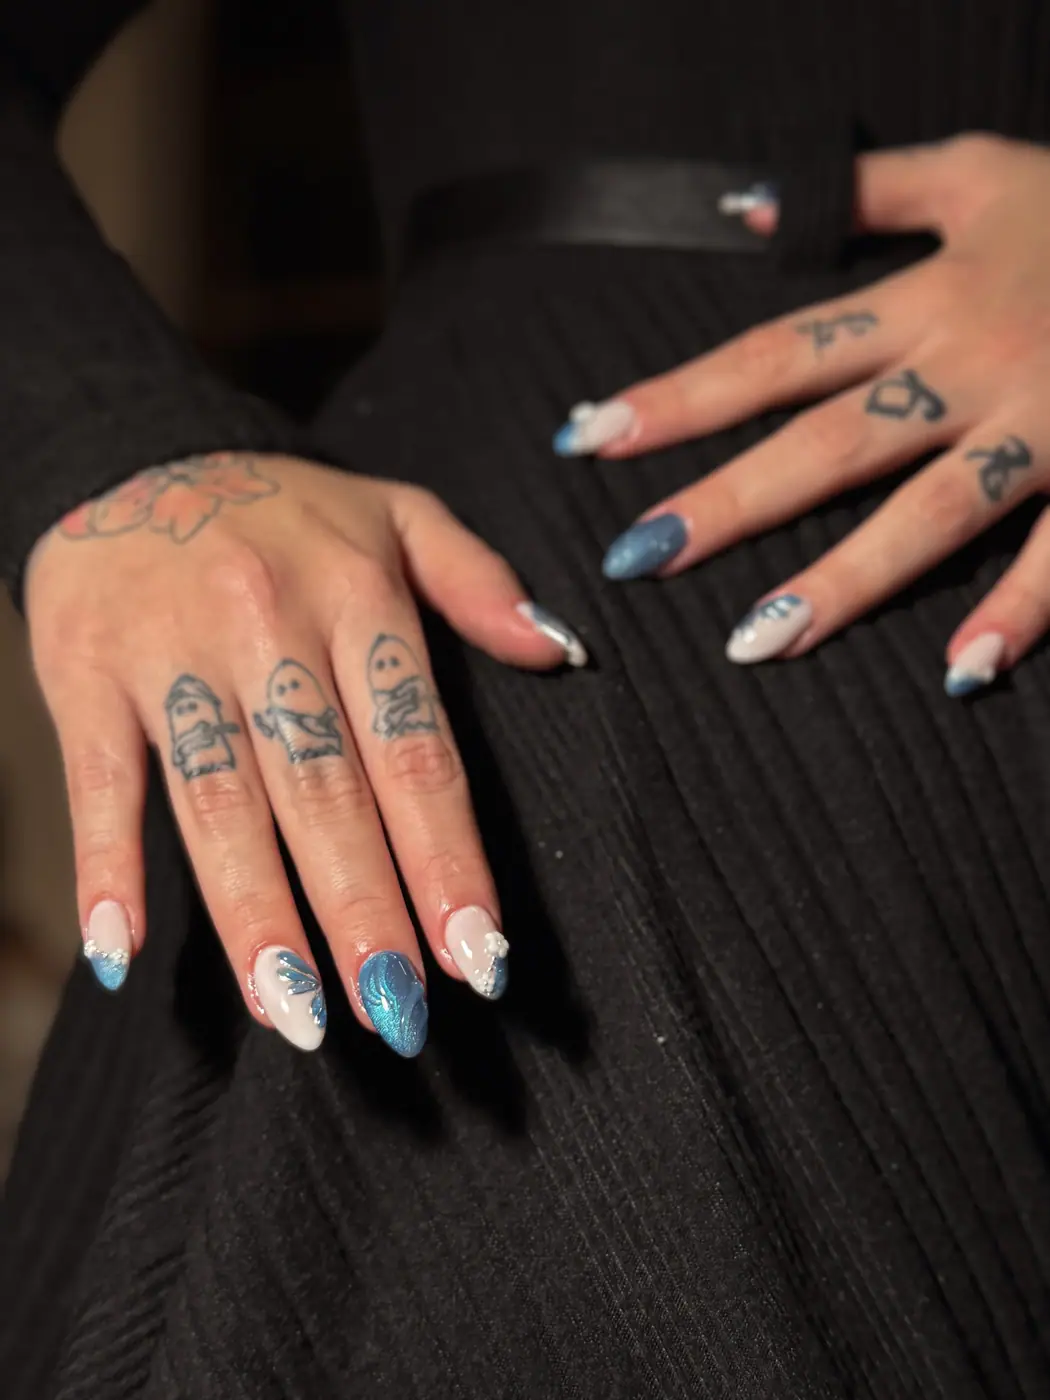
When you visit a studio in Vienna 1070 operating under the Austrian freies Gewerbe (unregulated commercial trade framework), your acrylic treatment starts with a detailed consultation. Your trained artist inspects your natural nail beds, evaluates your daily routine, and helps you select an extension style tailored to your hand anatomy. You can choose from classic shapes such as almond, coffin, square, or stiletto, adjusting both length and taper to suit your aesthetic preferences.
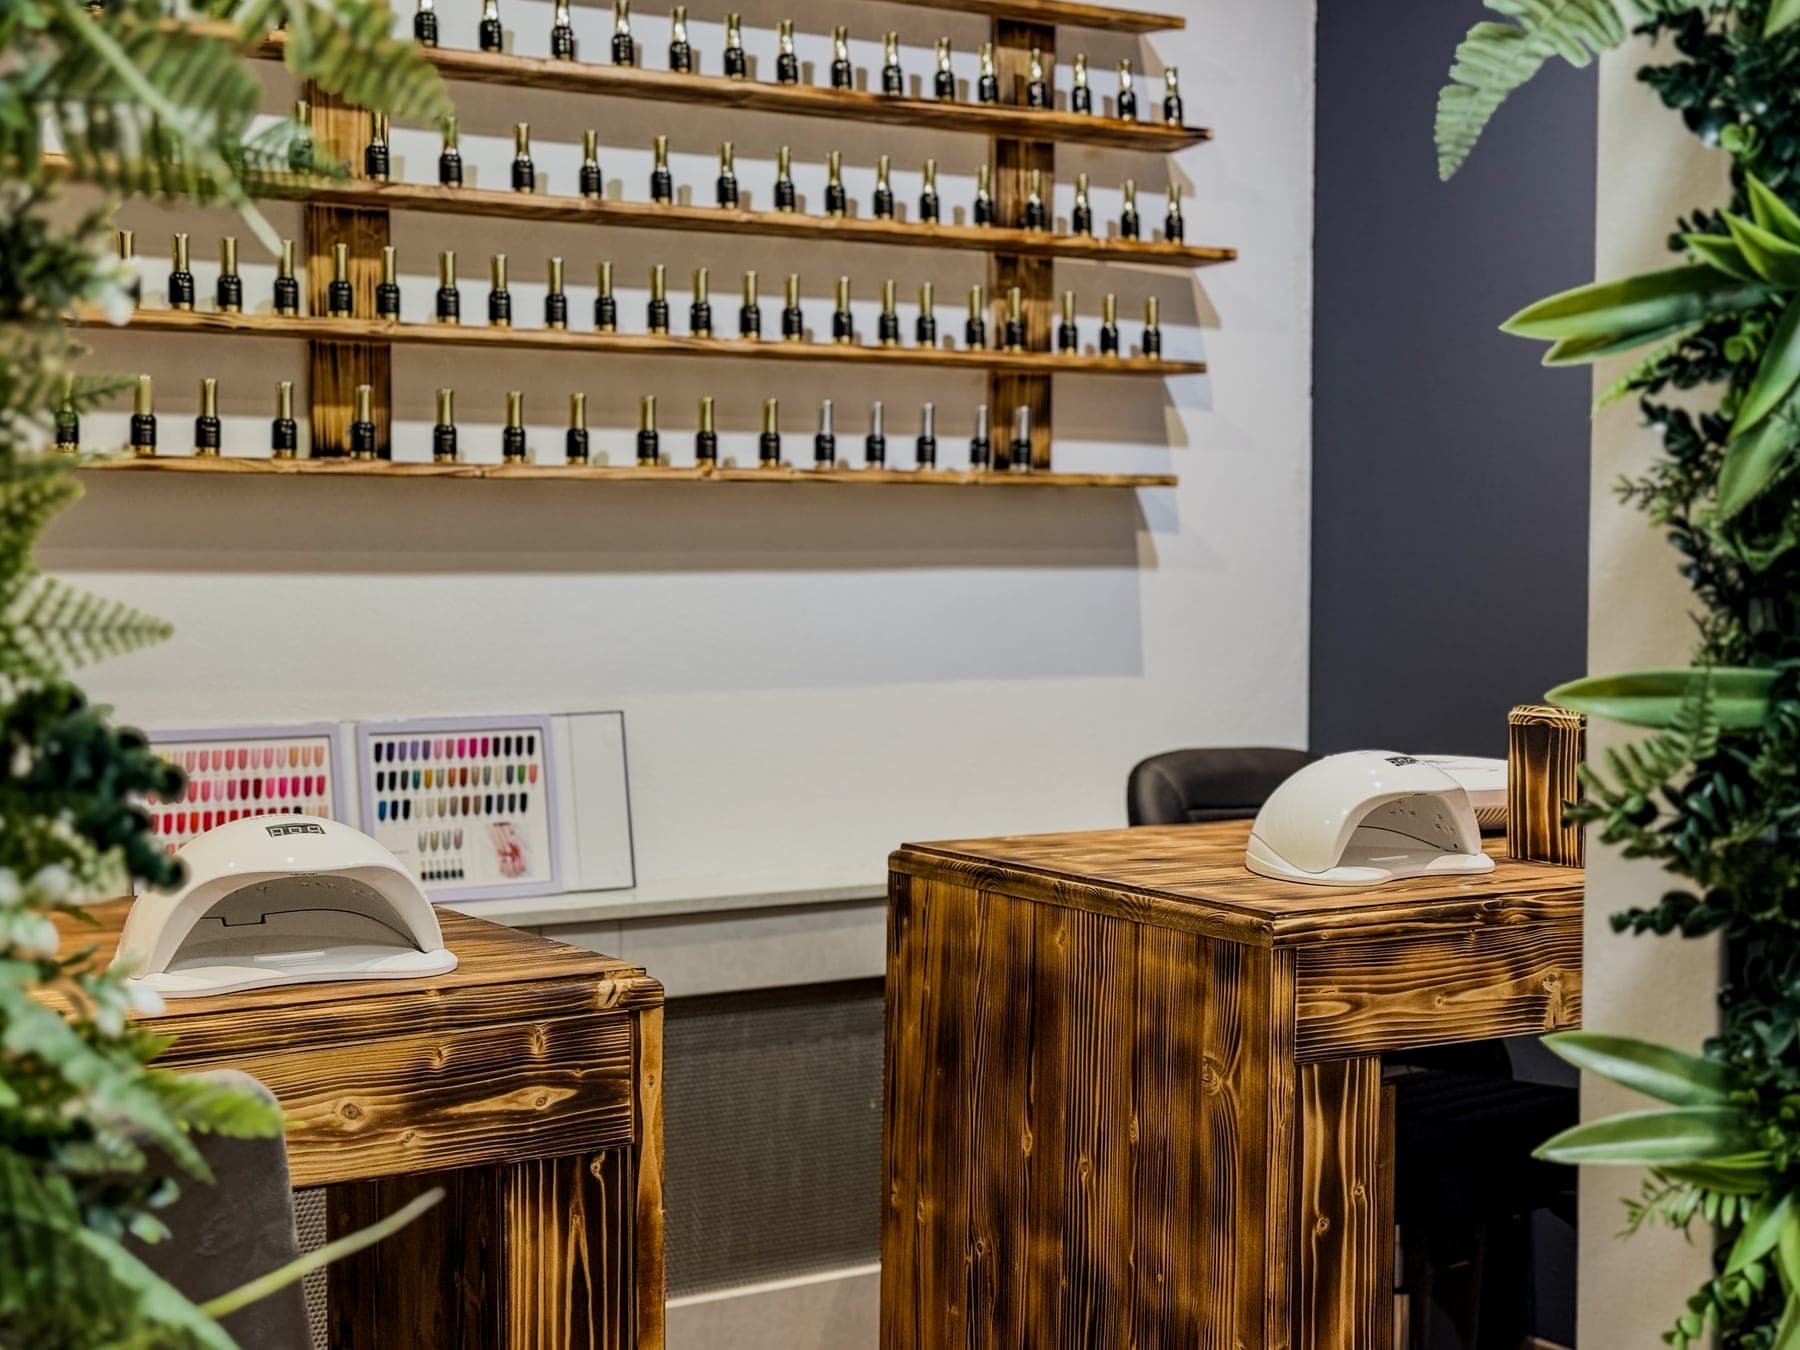
During this initial phase, the nail artist also determines whether your natural nail plates are better suited for plastic tips or sculpted paper forms. Proper selection at this stage ensures that your extensions remain balanced, comfortable, and durable against daily impact. The studio environment features modern local exhaust ventilation, keeping air clear of dust and monomer fumes while you discuss your goals.
02
How Are Natural Nails Prepared for Acrylic Adhesion?
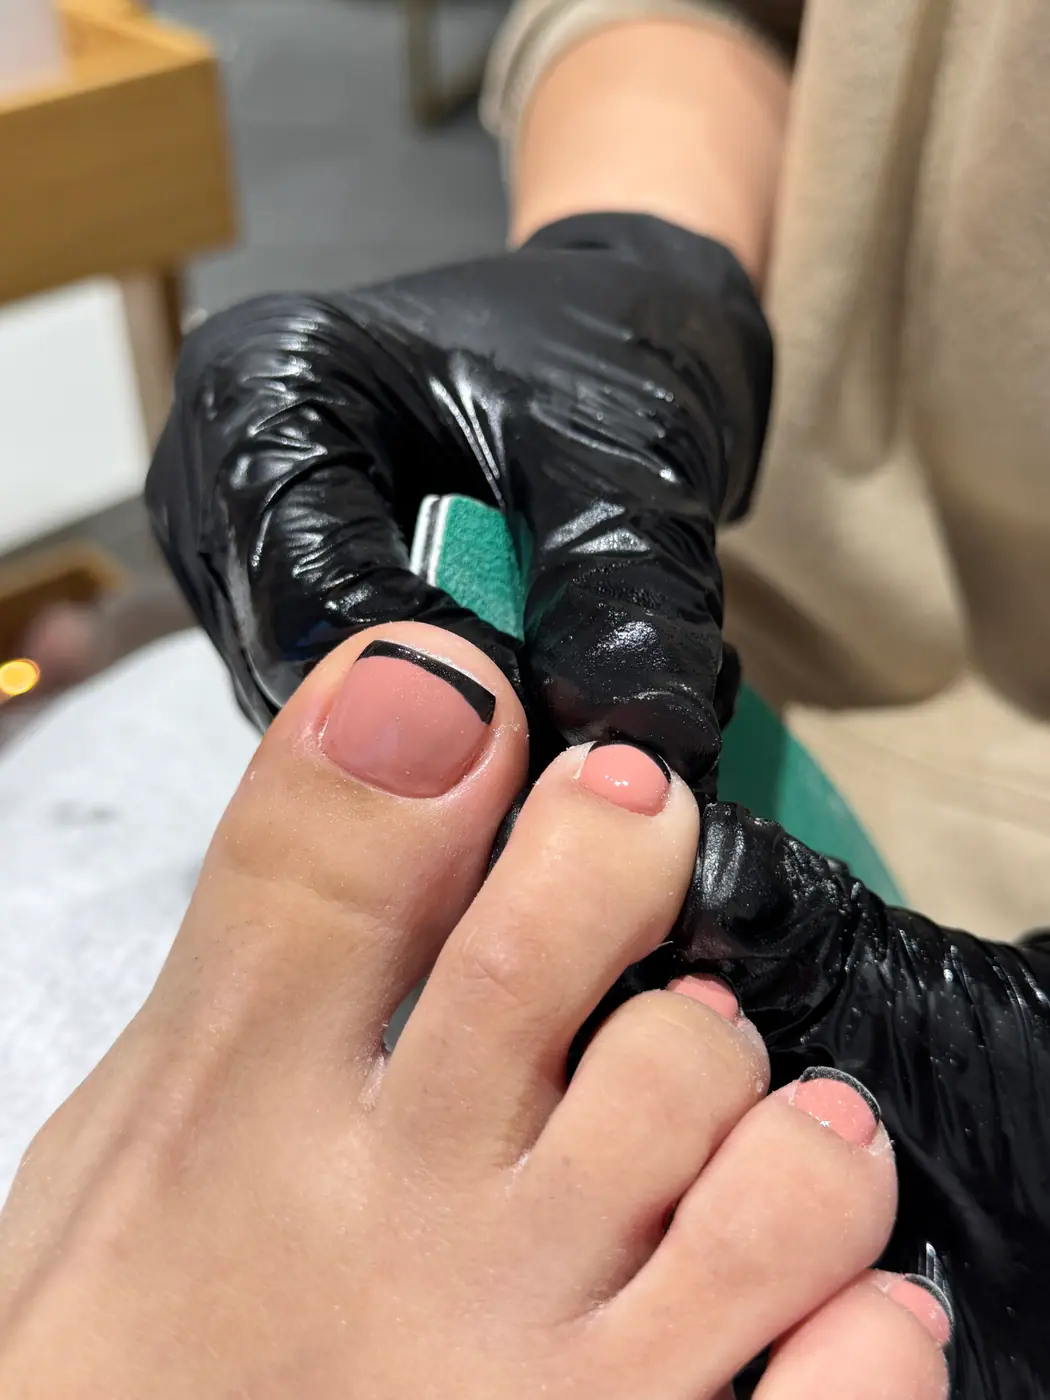
Thorough natural nail preparation is essential for preventing premature lifting and protecting nail health. Skipping any of these steps compromises the foundation of your extension.
- 1
Cuticle work
The artist carefully pushes back and cleans cuticle tissue around the eponychium to ensure raw skin does not contact acrylic.
- 2
Removing shine
Using a fine buffer, surface shine is gently buffed off without thinning or damaging the natural keratin layers.
- 3
Dehydrating
A liquid dehydrator is applied to remove surface oils and moisture from the prepared nail surface.
- 4
Primer application
A specialized primer is applied sparingly to create a chemical link between natural keratin and acrylic polymer.
03
How Is Acrylic Sculpted and Cured Zone by Zone?
Once preparation is complete and tips or forms are fitted, the artist begins building the acrylic extension. Acrylic involves combining liquid monomer and powder polymer into a soft bead.
- 1
Free edge construction
The first bead is placed at the free edge extension to establish the structural length and baseline shape.
- 2
Apex building
A second bead creates the apex over the stress area, providing crucial strength where natural flexing occurs.
- 3
Cuticle zone refinement
The final bead is smoothed thinly near the cuticle line to achieve a flush, natural growth transition.
- 4
Air-curing
Unlike UV gels, the acrylic compound air-cures within minutes, transforming into a firm, highly durable structure.
Have it done at NailLine.
Every service with price and duration on one page – and online booking when it suits you.
See the prices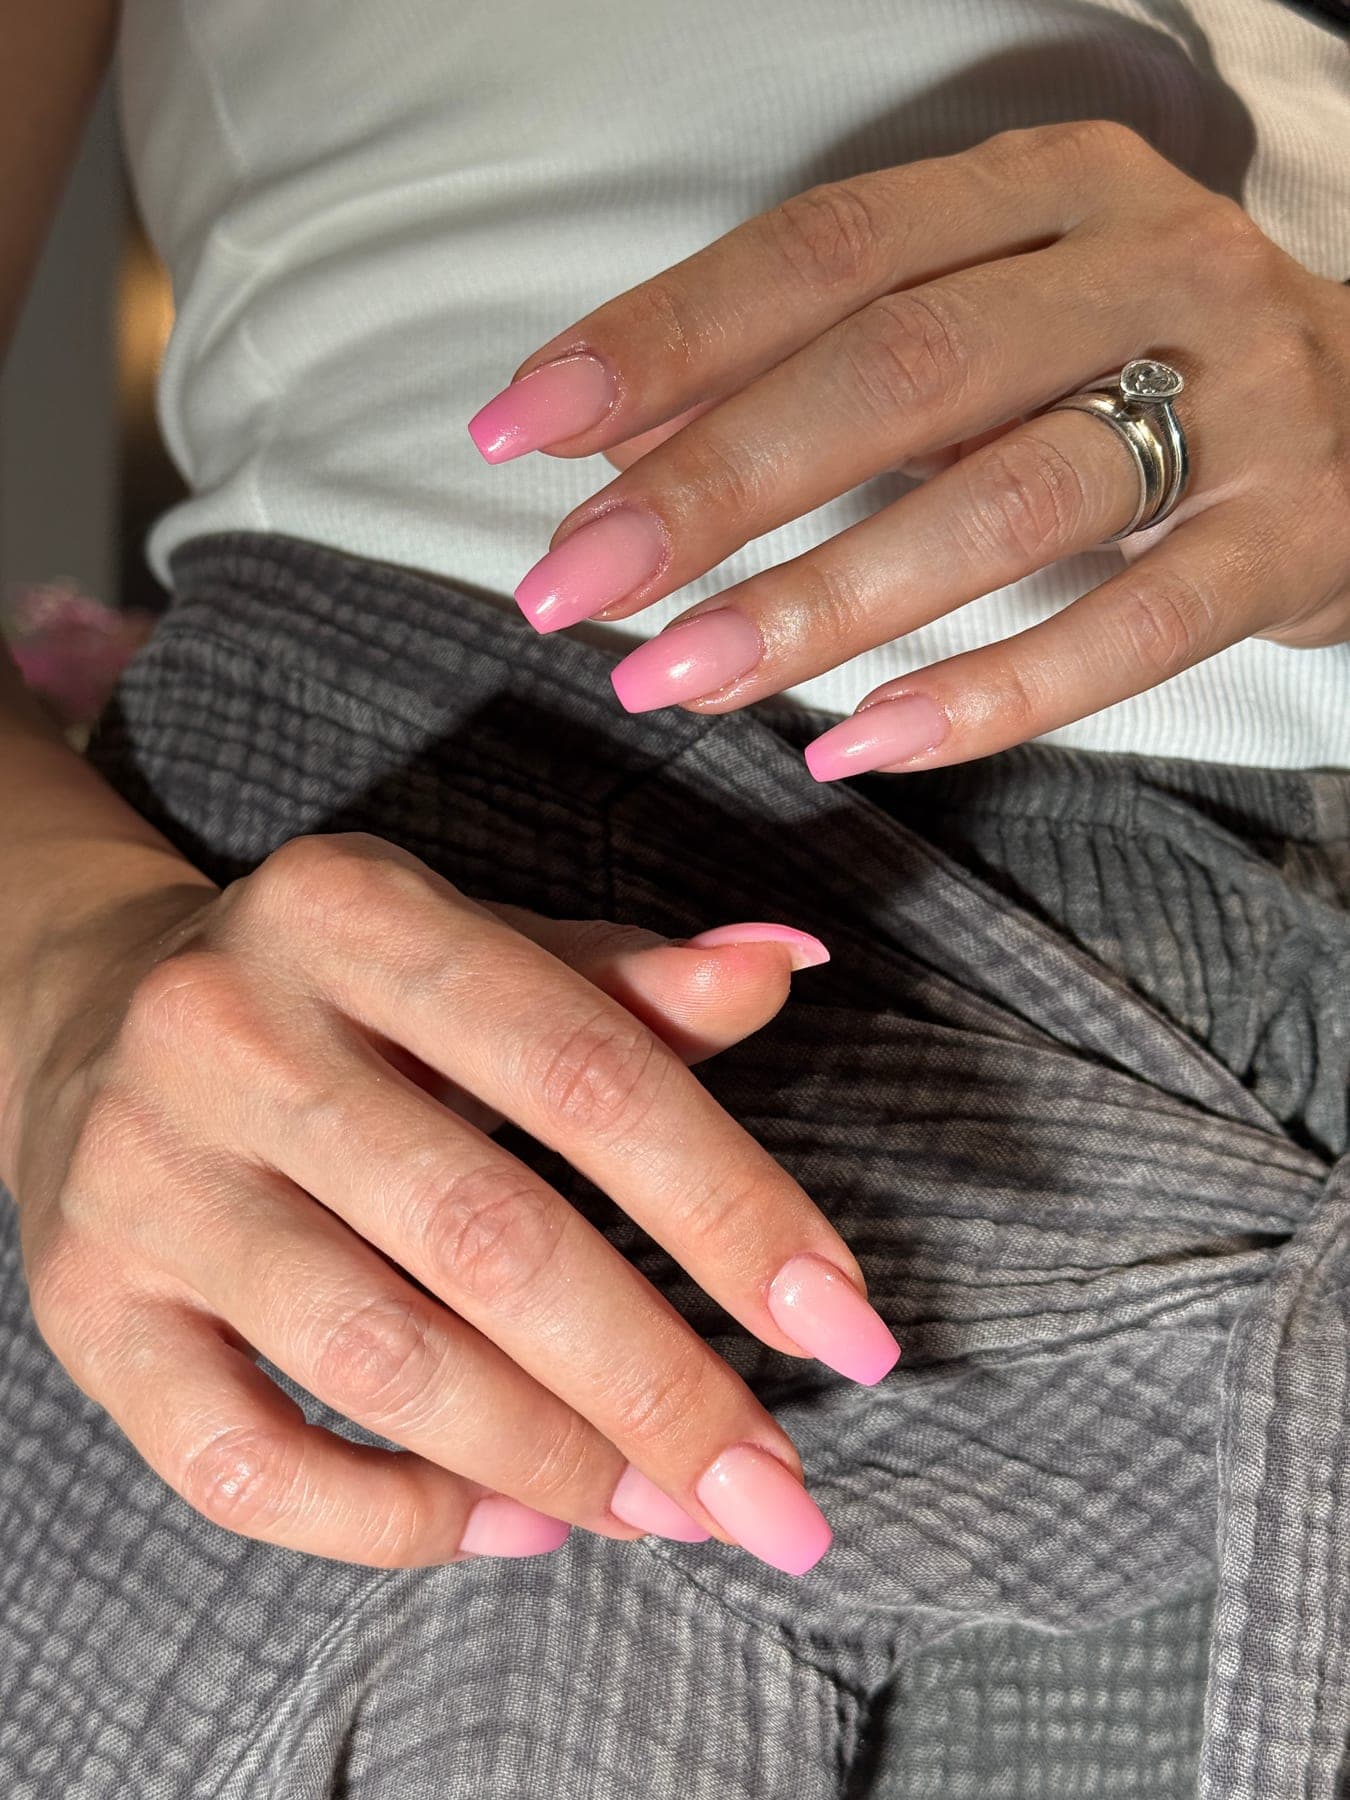
Why Is Precision Hand Filing Crucial for Acrylic Nails?
After the acrylic has completely hardened, the artist refines the structure using dedicated hand filing techniques. This manual step creates smooth transitions and correct anatomical architecture that machine filing alone cannot replicate. The artist carefully files the side walls to ensure they run straight from the nail bed, eliminating bulky edges that cause catching or accidental lifting.
Next, hand filing shapes the C-curve and smooths the apex so the thickest part of the extension supports the stress point without appearing heavy. This step balances flexibility with impact resistance, giving your nails a sleek profile. Proper hand filing ensures that as your natural nails grow out over the coming weeks, the stress distribution remains stable and safe.
How Is the Acrylic Treatment Completed and Maintained?
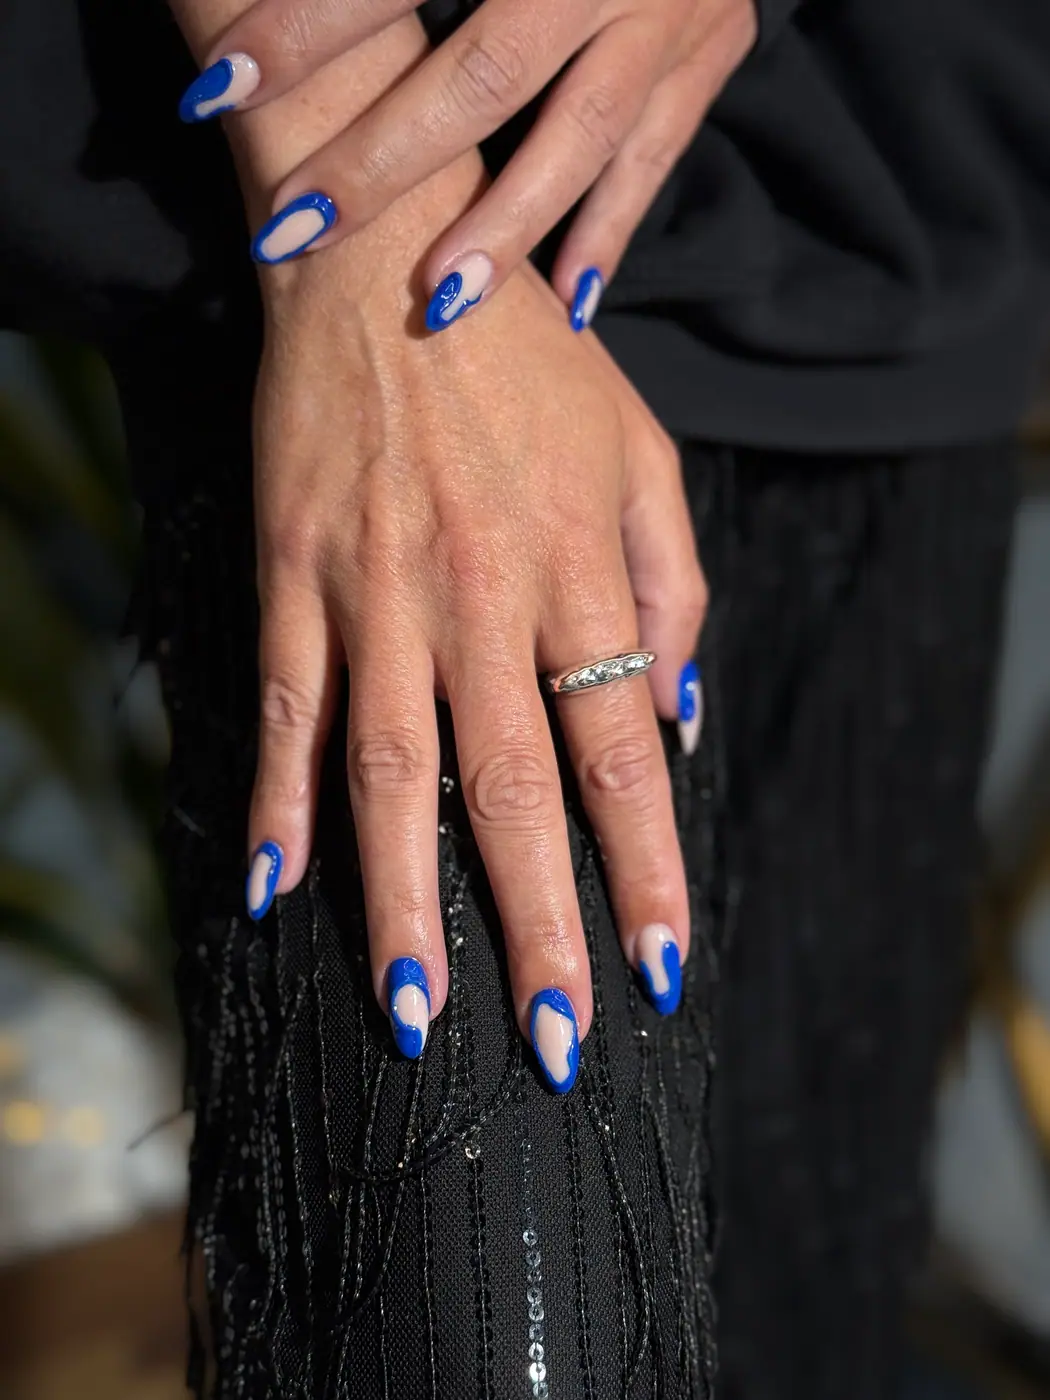
Once shaping is complete, the surface is smoothed and cleaned of dust. You can complete your full set with a gel polish colour or a clear top coat; you can preview examples in our studio gallery. The service concludes with nourishing cuticle oil rubbed into the skin surrounding each nail plate to restore moisture and promote healthy growth.
A complete new set with extension and colour costs 70 € and takes about 90 minutes. To maintain strength and balance as your natural nails grow, plan a refill every 3 to 4 weeks, which takes approximately 75 minutes. You can check prices on our price list and book online whenever you are ready. Should you ever decide to remove your extensions, professional removal costs 25 € and relies on gentle soaking; never pry nails off, as prying peels away natural keratin layers.
Ready for Your Acrylic Treatment?
Understanding each step of the acrylic application process ensures you feel completely confident throughout your appointment. From precise cuticle preparation and custom sculpting to expert hand filing, professional acrylic enhancements deliver exceptional strength and refined style tailored to your daily life.
The short version
- 1Every acrylic session begins with an individual consultation to select length and shape, such as almond, coffin, square, or stiletto.
- 2Meticulous nail preparation including cuticle care, shine removal, dehydrating, and primer guarantees long-lasting material adhesion.
- 3Liquid monomer and acrylic powder are sculpted zone by zone before naturally air-curing within minutes without UV light.
- 4Precision hand filing shapes the apex, side walls, and C-curve to deliver optimal structural integrity and thin edges.
- 5Professional removal costs 25 € and uses gentle soaking methods to protect your natural nail plate from mechanical damage.
Request an appointment.
Two minutes for the form, we confirm by phone. Or book online via Treatwell right away.
To the formFrequently asked
Sources and further reading
Want an appointment?
Send a request
For groups, special wishes or if you would rather talk to us. We reply within one working day.